
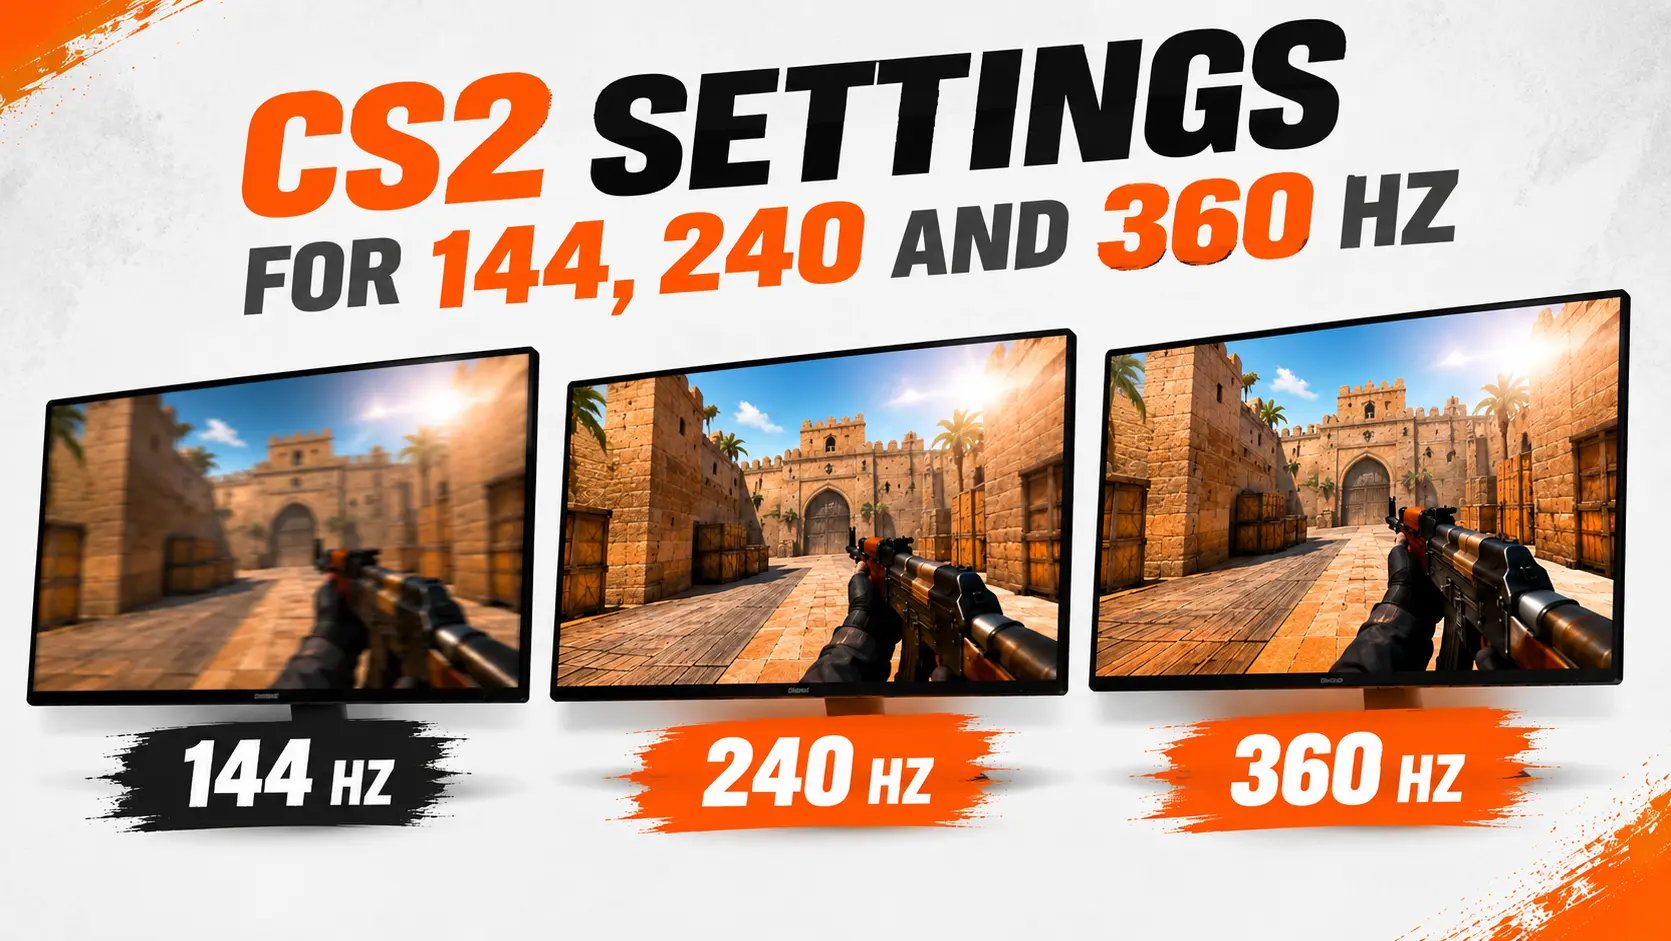
CS2 Settings for 144Hz, 240Hz, and 360Hz Monitors
Optimizing CS2 for a 144Hz, 240Hz, or 360Hz monitor starts neither with graphics settings nor console commands. First, you need to make sure that Windows, your graphics driver, and the game itself are actually using your monitor's maximum refresh rate. Once that is confirmed, you can choose between two profiles: the lowest possible input latency with high FPS, or the smoothest possible image with G-SYNC/FreeSync.
Refresh Rate vs. FPS: What’s the Difference?
Refresh rate shows how many times per second a monitor can update the image. FPS shows how many frames per second your computer can render. They are related, but they are not the same thing.
At 144 Hz, each refresh takes 6.94 ms, which provides a major improvement in smoothness and responsiveness compared to 60 or 75 Hz. At 240 Hz, the refresh cycle drops to 4.17 ms, which is 2.77 ms shorter than at 144 Hz. At 360 Hz, it takes just 2.78 ms per refresh, making the cycle 1.39 ms shorter than at 240 Hz.
A 240 Hz monitor does not turn 150 FPS into 240 frames. It will continue to run at 240 Hz, but some refresh cycles will display the same frame more than once. To fully take advantage of the refresh rate, CS2 should ideally maintain an FPS close to or above the monitor’s refresh rate during an actual match, including moments with smoke, grenades, and firefights.
With V-Sync disabled, FPS above the monitor’s refresh rate can still be beneficial: the game prepares new frames more frequently, allowing the display to show more up-to-date information. The trade-off is possible screen tearing and less consistent motion. That’s why high FPS and a VRR setup serve different purposes.
Don’t look only at the average FPS. Pay attention to frametime spikes and 1% Low as well. An average of 450 FPS doesn’t help much on a 360 Hz monitor if the game suddenly drops to 180 FPS at a critical moment. You can learn how to display these metrics in our guide on how to check FPS in CS2.
How to Enable 144, 240, or 360 Hz in Windows and CS2
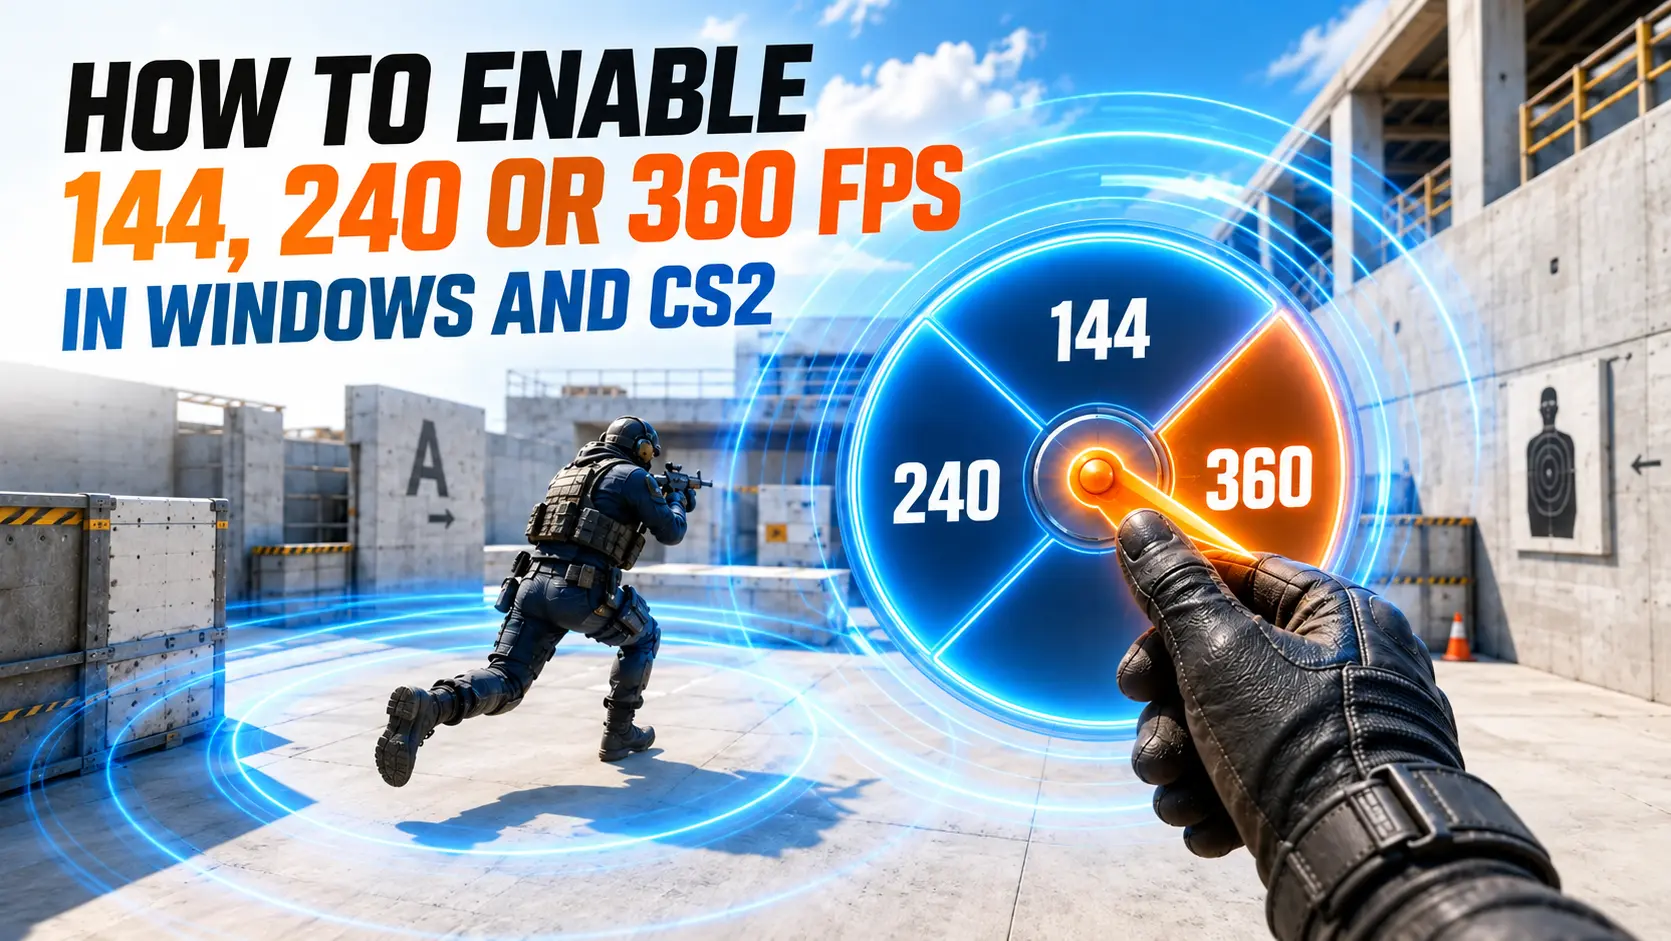
Even an expensive gaming monitor can sometimes remain at 60 Hz after being connected or after a driver reinstall. Check the entire setup step by step.
- Open Windows Settings → System → Display → Advanced display.
- If you have multiple monitors connected, select your gaming monitor.
- Set the refresh rate to 144, 240, or 360 Hz.
- Check the monitor’s own menu and make sure gaming/high refresh mode is enabled.
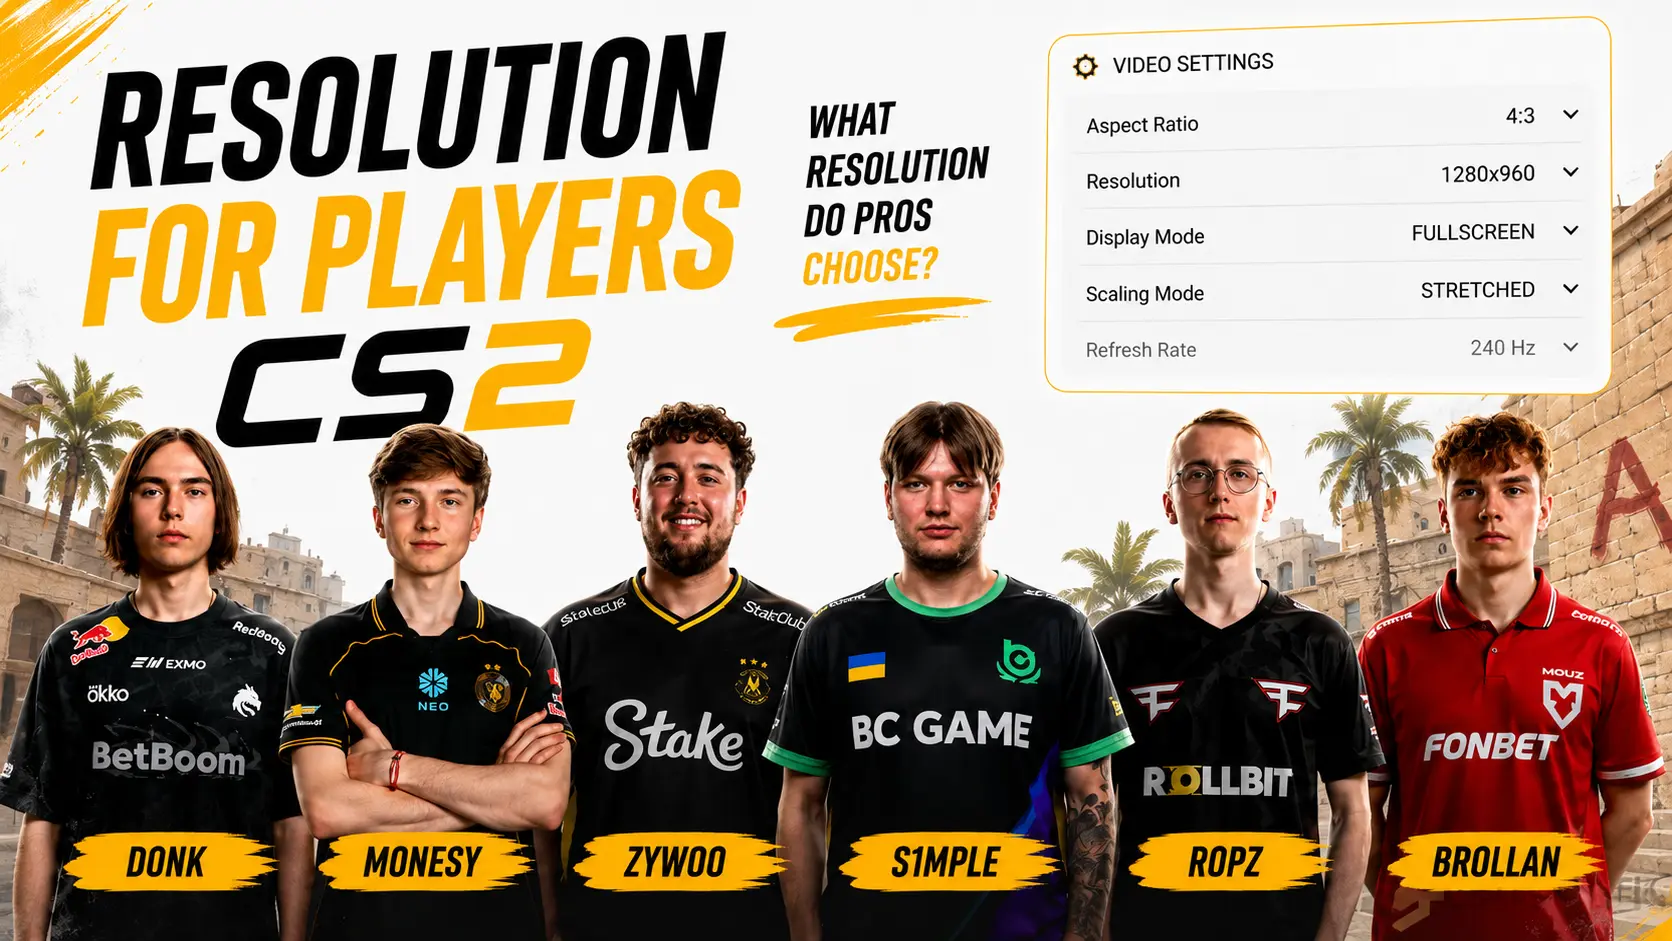
- Launch CS2 and go to Settings → Video.
- Select Fullscreen and choose the highest available refresh rate.
- Fully restart the game after changing the display mode.
In Borderless Windowed mode, CS2 usually inherits the desktop’s resolution and refresh rate. That’s why a separate refresh rate option may not appear in the game. If you’re using a custom resolution, make sure that resolution has a display mode created with the desired refresh rate first.
The cable and port must support the selected resolution, refresh rate, color depth, and HDR simultaneously. There is no universal rule that “any DisplayPort is better than any HDMI” — capabilities depend on the interface version, monitor, and graphics card. Use the cable that came with your monitor or a certified cable, and check the monitor’s manual for supported configurations.
General CS2 Graphics Settings for High Refresh Rates
The following preset is a good starting point for 144, 240, and 360 Hz. It maintains useful visibility while reducing effects that often consume additional GPU resources. The names of some settings may change slightly after CS2 updates.
For the display mode, use Fullscreen. This makes it easier to select the desired refresh rate and provides a clean environment for latency testing.
Set Boost Player Contrast to Enabled. This helps separate player models from the background.
Vertical Sync should depend on the profile you are using. Disable it for a high-FPS, low-latency setup, or enable it as part of an official G-SYNC setup.
Set MSAA to 2x. Use 4x only if you have enough GPU headroom.
Set Shadow Quality to Low or Medium. Keep dynamic player shadows enabled if the game provides a separate option for them.
Set Model / Texture Detail to Low or Medium, depending on the amount of VRAM available on your graphics card.
Set Texture Filtering to Anisotropic 4x. It usually has only a moderate impact on FPS.
Set Shader Detail to Low to free up additional GPU resources.
Set Particle Detail to Low, which can be useful in scenes with smoke and fire.
Disable Ambient Occlusion to reduce the overall graphics load.
Set HDR to Performance as a starting point for competitive play.
Keep FidelityFX Super Resolution disabled. Only enable it if you are clearly limited by your GPU.
Set NVIDIA Reflex to Enabled and test Boost separately.
On compatible AMD systems, enable AMD Radeon Anti-Lag 2. It is AMD’s built-in low-latency technology.
If lowering the resolution and MSAA noticeably increases FPS, the system was GPU-limited. If performance barely changes, the bottleneck is more likely to be the CPU, RAM, or background processes. This is especially common when trying to maintain 360 FPS or higher.
CS2 Settings for 144, 240, and 360 Hz
For a 144 Hz monitor, aim to maintain a stable FPS above 144 during matches. A good starting point for testing a high-FPS cap is 240 FPS, while a manual VRR cap can be set to 141 FPS. The main limitation can be either the GPU or CPU, depending on the resolution and settings.
For a 240 Hz monitor, aim for around 240 FPS or higher without major drops. A good starting point for testing a high-FPS cap is 360 FPS, while a manual VRR cap can be set to 237 FPS. At this level, the CPU and 1% Low performance become increasingly important.
For a 360 Hz monitor, aim to stay as close to 360 FPS as possible, especially in demanding scenes. You can start testing with a 500 FPS cap or leave the game uncapped. A manual VRR cap can be set to 357 FPS. At this level, CPU performance, memory, and frametime become the main limitations.
These numbers are starting points, not mandatory standards. A high-FPS cap is used for a low-latency profile. A manual VRR cap is useful when you want to stay below the upper limit of FreeSync or G-SYNC and the system does not automatically set a limit. With G-SYNC + V-Sync + Reflex, CS2 automatically limits FPS slightly below the monitor’s refresh rate, so an additional low FPS cap is not necessary.
In Conclusion
There is no single universal command for 144, 240, and 360 Hz. First, enable the highest available refresh rate in Windows and CS2, then choose your priority: minimum latency or smoother gameplay without tearing. After that, adjust fps_max based on your PC’s actual performance and verify the result using telemetry.
Random CS2 Guides